Time Reporting
Depending on your position type, you will submit a timesheet or a leave report to report time worked and/or taken at the end of each pay period.
On this page
Reporting Time Online
Hourly staff and students must clock in and clock out for each work shift. You must submit hours worked at the end of each pay period to be paid on the next available payday.
Clock In & Out
Step 1
Navigate to the Employees page of MySam by logging at mysam.shsu.edu/employees
Step 2
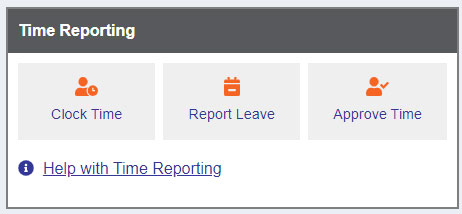
Click Clock Time, located under Time Reporting.
Step 3
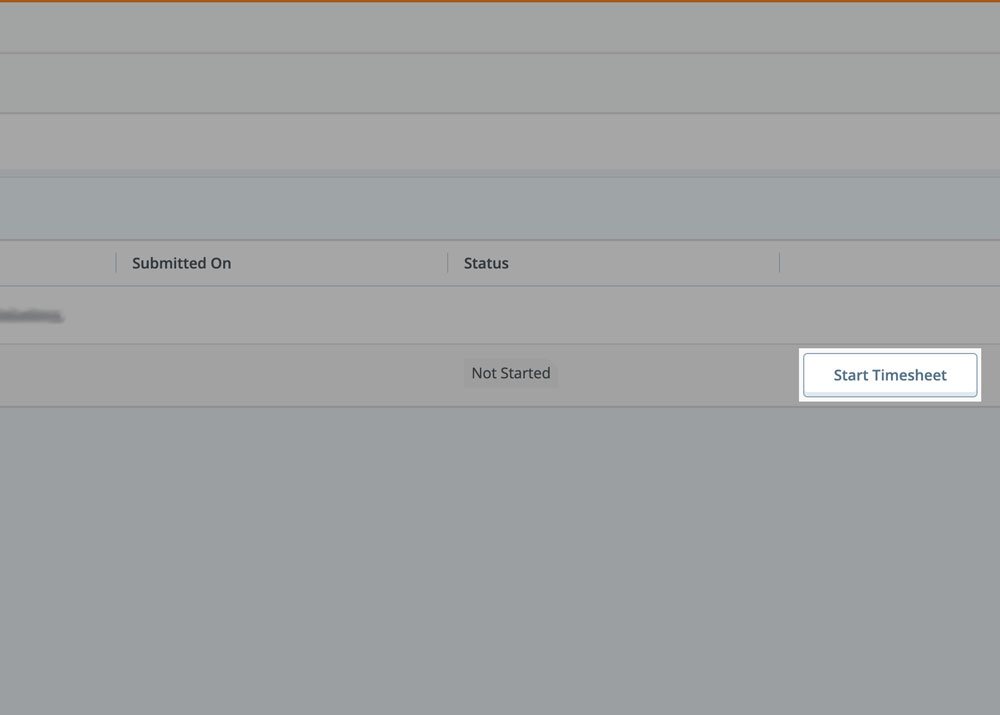
Click Start Timesheet to the right of the desired pay period.
If you have multiple positions and/or funded by college work study, you will see multiple Start Timesheet buttons. You should review the position details, located above each button, before clicking. Refer to your supervisor if you do not know which timesheet to use.
Step 4
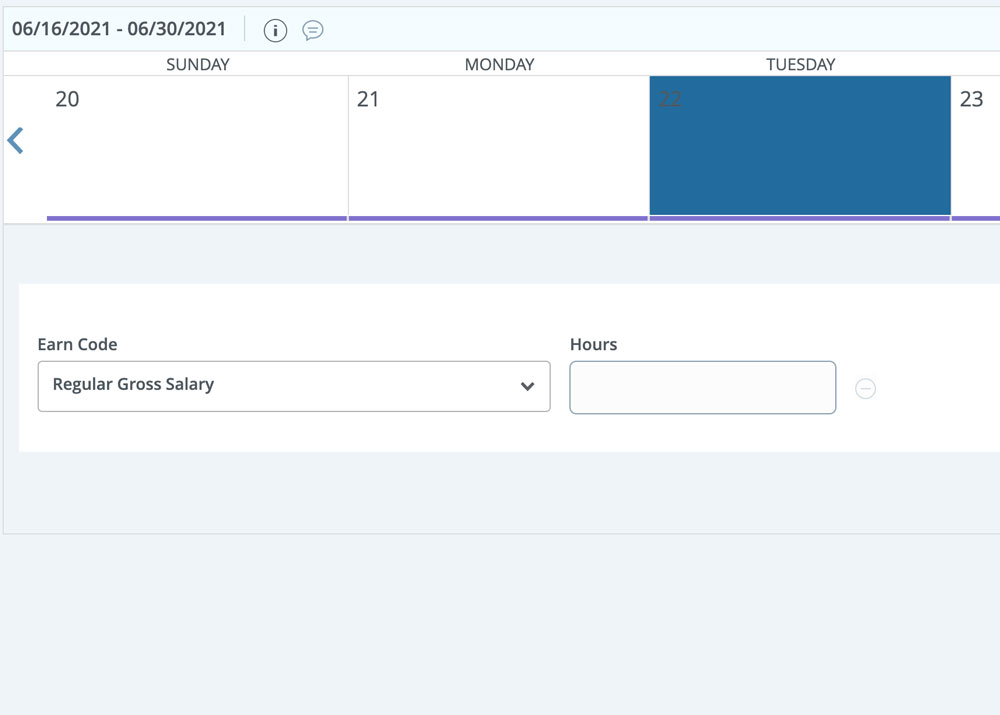
Click on the date of work.
Step 5
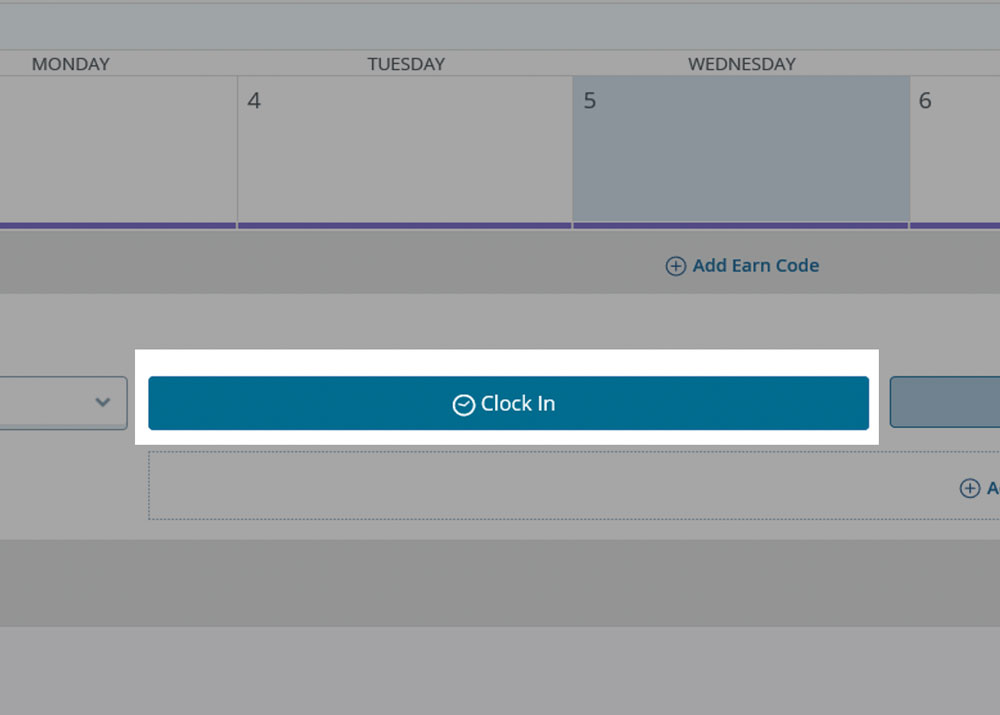
At the beginning of each period of work, click Clock In.
If you take any type of break, you will clock in and clock out multiple times a day.
Step 6
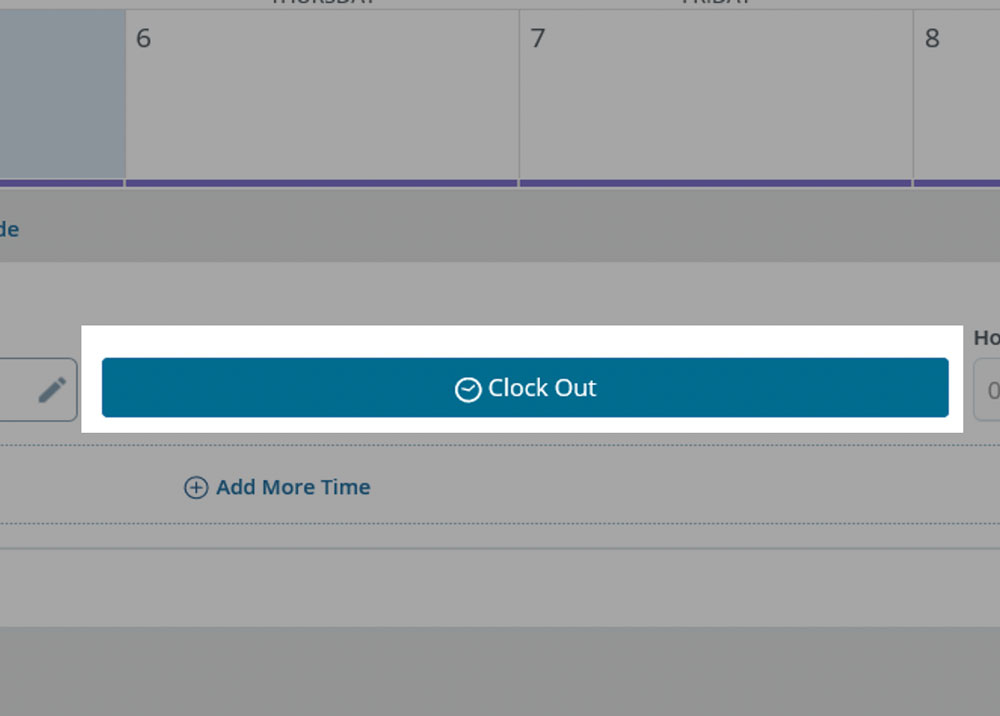
At the end of each period of work, click Clock Out.
When clocking in and out, the system will round to the nearest 15 minutes. To not exceed allocated time, you should avoid clocking out 7 minutes after your schedule. Student employees cannot exceed a total of 28 hours within a work week.
Step 7
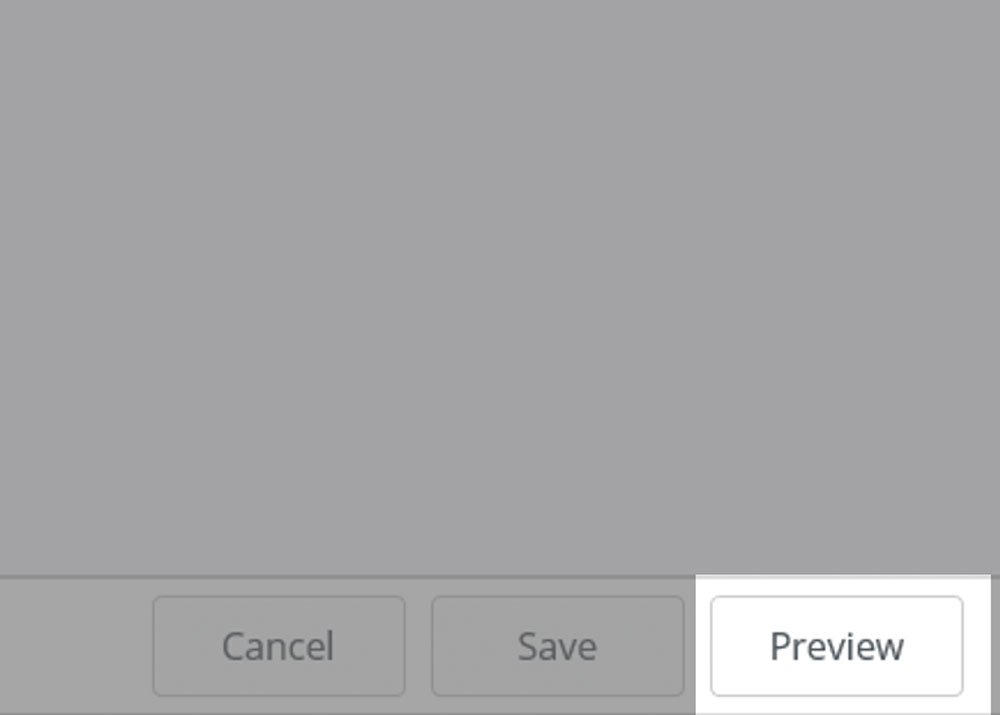
Once time for the pay period is entered, click Preview.
Step 8
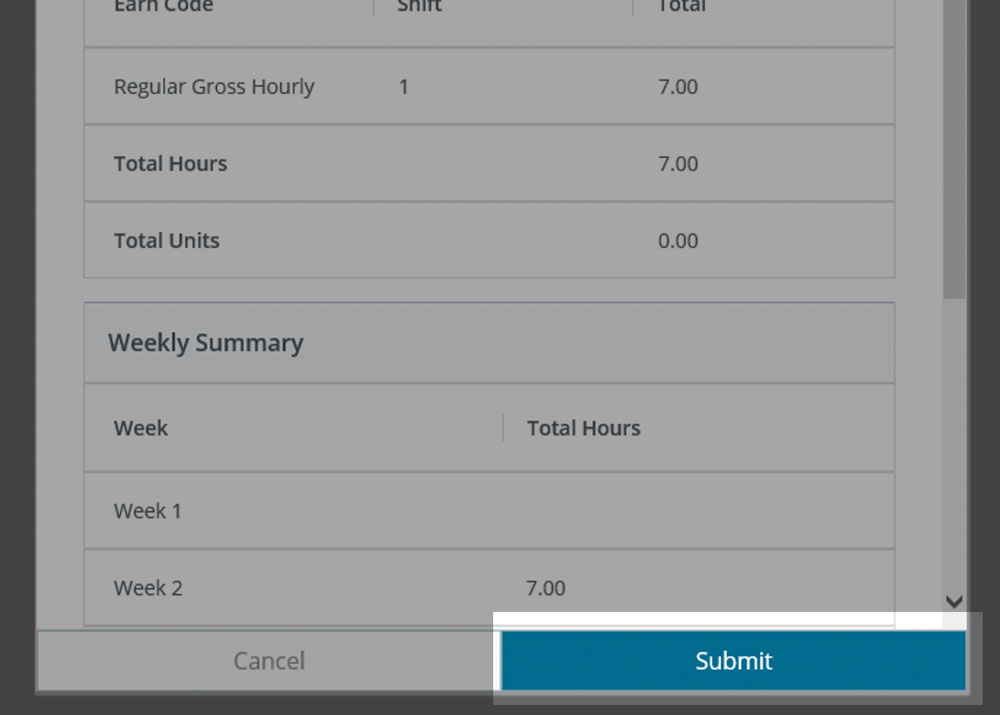
Once reviewed, add any comments necessary, then click Submit.
Edit
To correct time, follow the steps below.
- Click on the date of work.
- Click on the pencil icon on the right.
- Make the necessary changes.
- To change time, click on the incorrect time and select the accurate time.
- To delete time, click the delete icon located at the end of the time entry row.
- Enter comment after each time entry and click Confirm.
Add Time
To add time to a day already worked, follow the steps below.
- Click on the date of work.
- Click Add More Time.
- Enter clock in time by clicking Clock In and select time. Then, enter a comment after each time entry.
- Enter clock out time by clicking Clock Out and select time. Then, enter a comment after each time entry.
- Enter hours.
- Report
- Timesheet
- Leave Report
Non-exempt salaried staff submit timesheets each pay period to report hours worked, earned, or taken.
Enter Time

Step 1
Navigate to the Employees page of MySam by logging at mysam.shsu.edu/employees

Step 2
Click Clock Time, located under Time Reporting.

Step 3
Click Start Timesheet to the right of the desired pay period.
If you have multiple positions, you will see multiple Start Timesheet buttons. You should review the position details, located above each button, before clicking. Refer to your supervisor if you do not know which timesheet to use.

Step 4
Click on the first day of work for the pay period.
Step 5
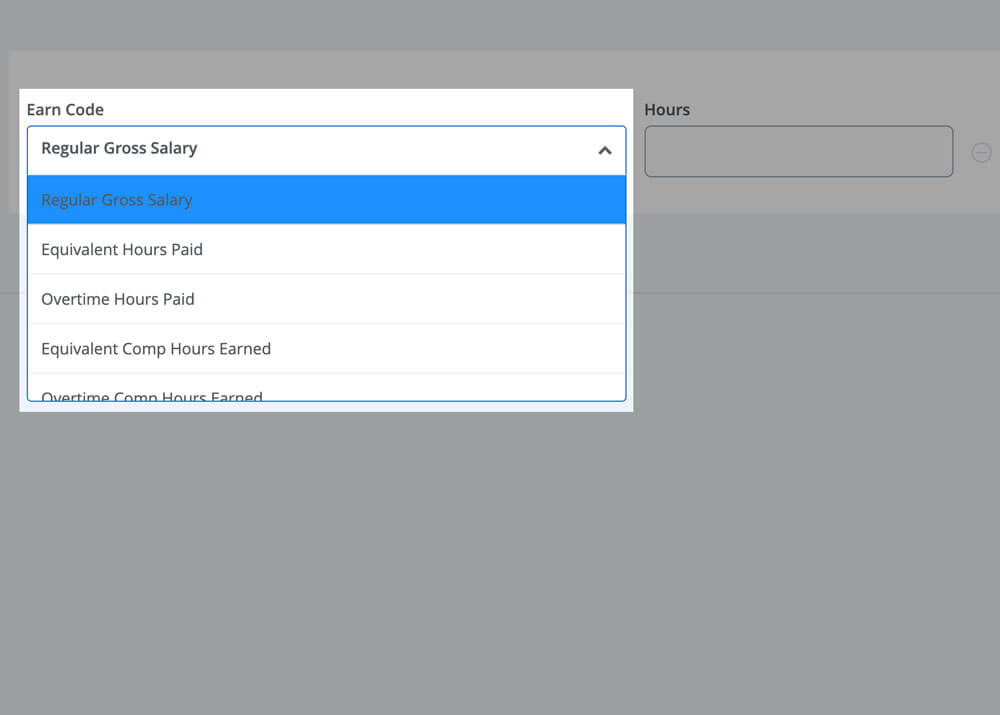
Verify or change Earn Code.
Use Regular Gross Salary for regularly scheduled hours. If you worked beyond your regularly scheduled hours or took time off, click the dropdown to change the earn code.
Step 6
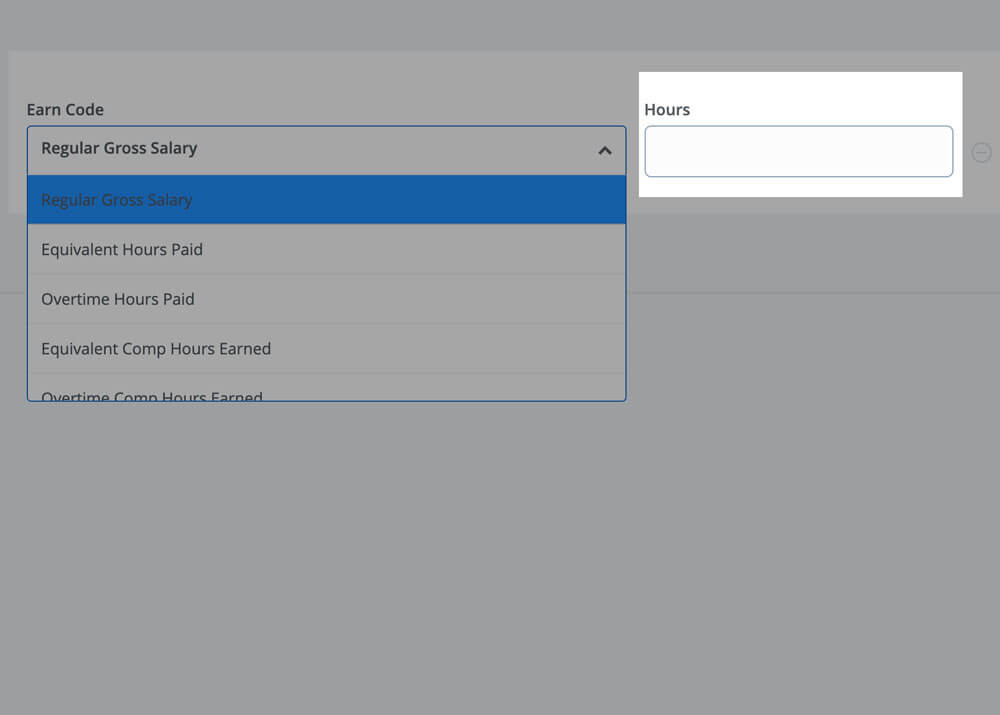
Enter hours worked or taken for that Earn Code into the Hours field.
Step 7
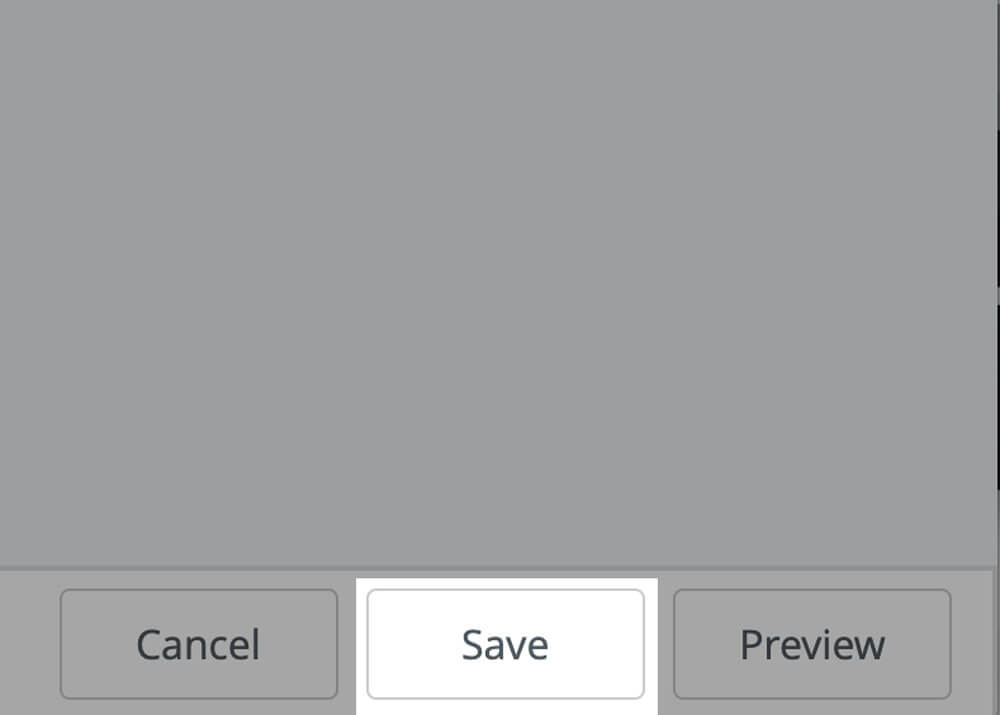
Click Save located at the bottom right of the screen.
Step 8
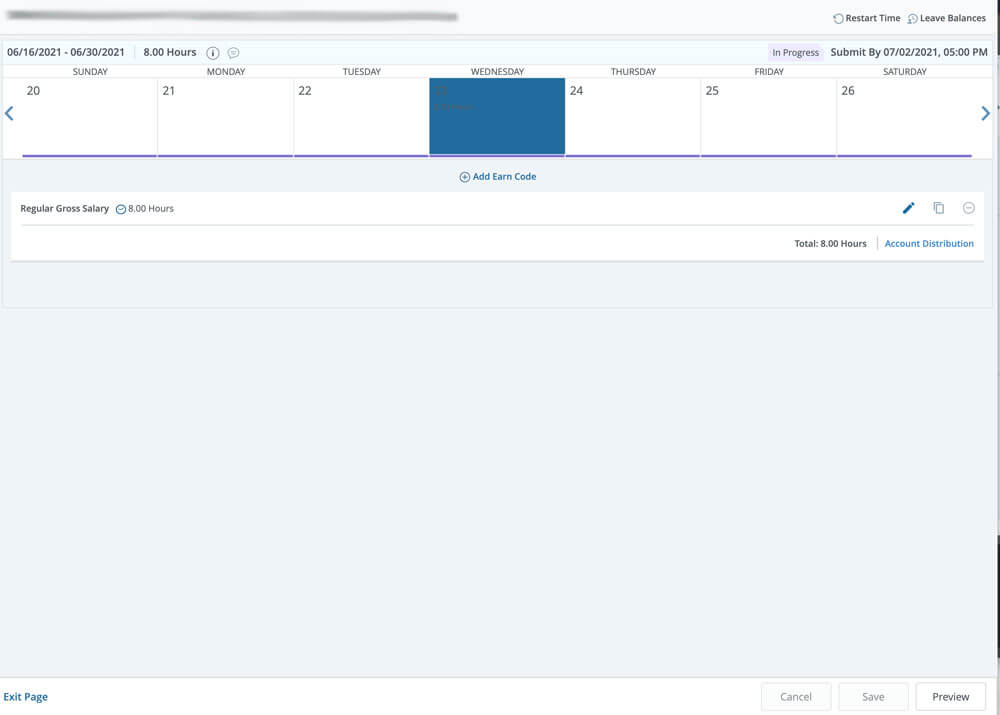
Repeat steps 4 ‐ 7 until all time is entered for the pay period and/or use the copy feature with the steps below.

Step 9
Once all time is entered, click the Preview button located at the bottom right of the screen.

Step 10
Once reviewed, add any comments necessary, then click Submit.
Copy Time
Use the steps below to apply the time you've entered to multiple dates within the pay period.
- Enter time with steps 4 ‐ 6 above
- Click the copy icon.
- When the Copy Time Entry popup appears, you can
- Apply the time to each regular workday until the end of the period by clicking the checkbox next to Copy to the end of pay period.
- Apply the time to every calendar day until the end of the period by clicking all checkboxes under Select Options.
- Apply the leave to select dates clicking on each date in the calendar view.
- Click Save.
Add Multiple Earnings Types
If you work beyond your regularly scheduled hours or took time off partially through the day, use the steps below to add multiple earn codes for a specific date.
- Enter time regularly scheduled hours with steps 4 ‐ 6 for the specific date.
- Click Add Earn Code, located above the entered time and below the calendar view
- Click the dropdown under Earn Code.
- Select an option in the dropdown
- Enter hours for that earn code under Hours.
- If applicable, repeat the steps above to add additional earnings for that specific date
- Click Save.
Edit
Use the following steps to correct time.
- Click the pencil icon to the right of the time entered
- Change Hours.
- Then, click Save.
Delete
To delete time, click the circle minus icon to the right of the time entered. Then, click Save.
Faculty and Exempt staff submit leave reports for any applicable leave taken.
Enter Leave
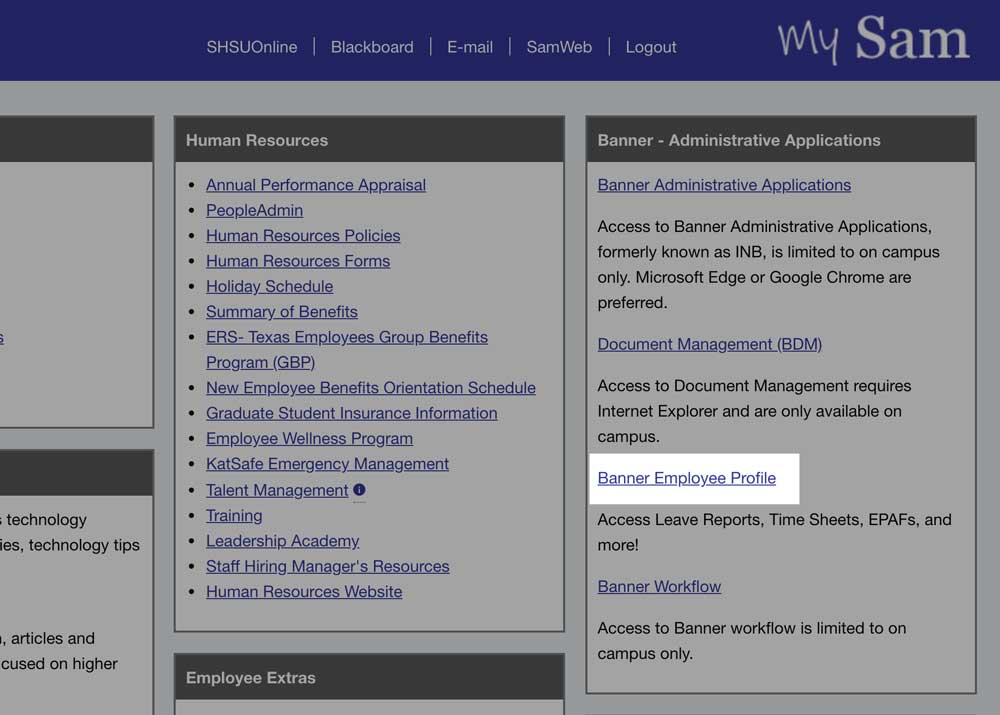
Step 2
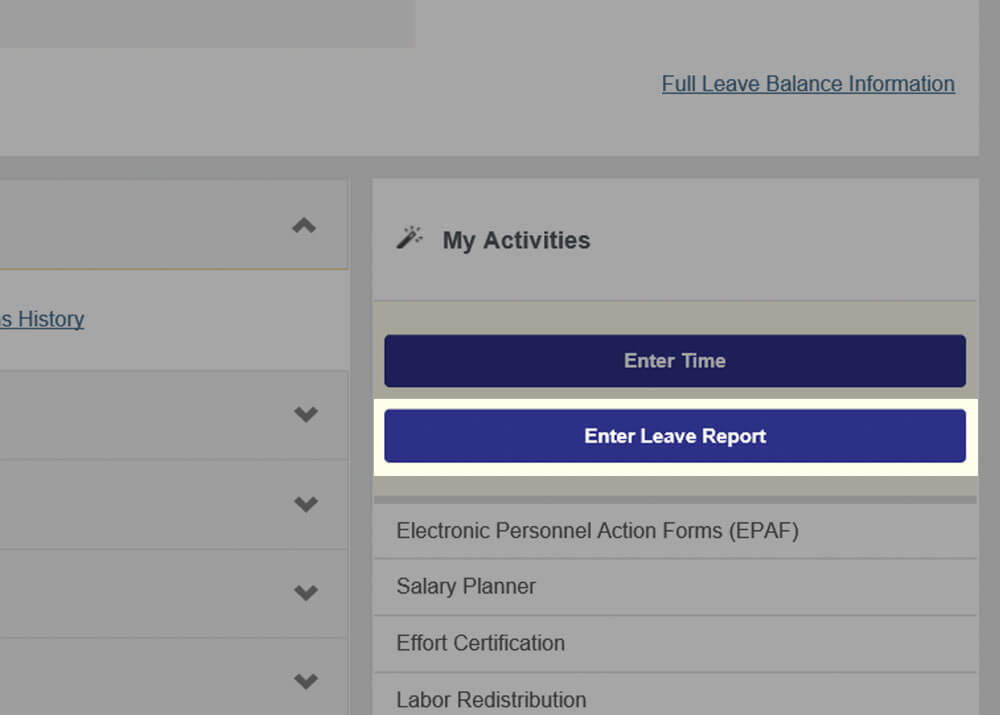
Click Enter Leave Report, located under My Activities.
Step 3
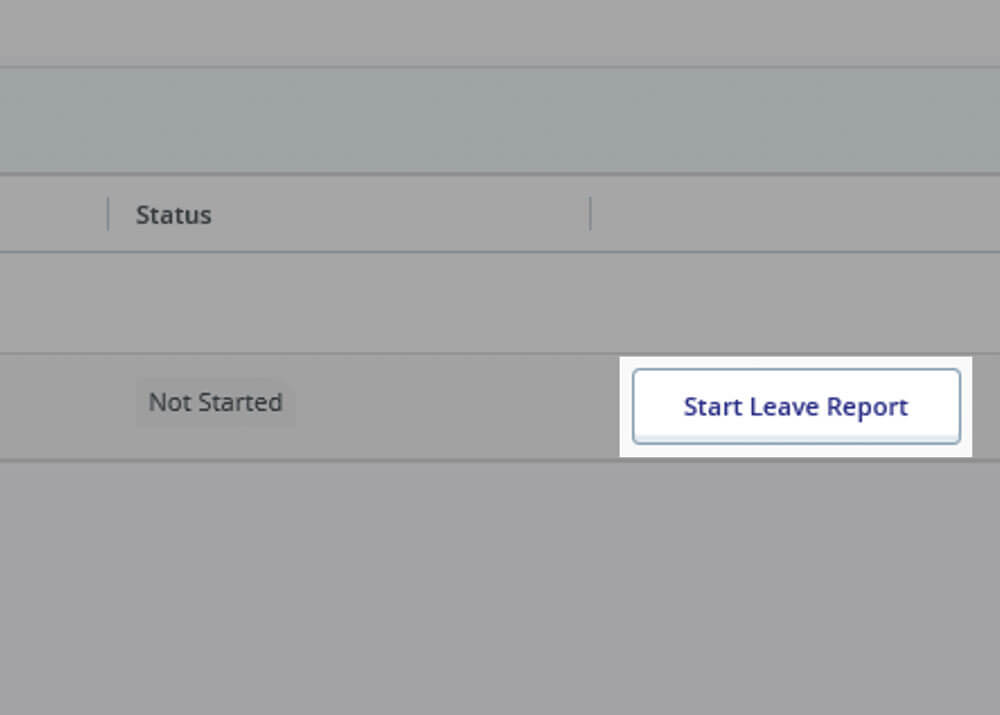
Click Start Leave Report to the right of the desired pay period.

Step 4
Click on the date you took time off.
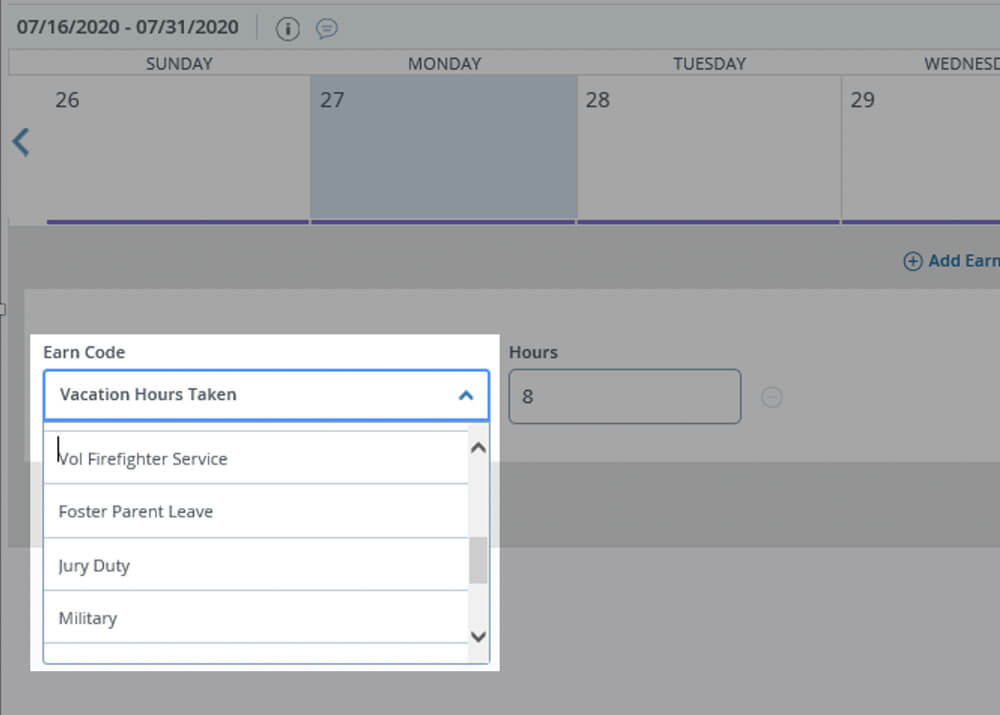

Step 6
Enter hours taken for that Earn Code into the Hours field.

Step 7
Click Save located at the bottom right of the screen.
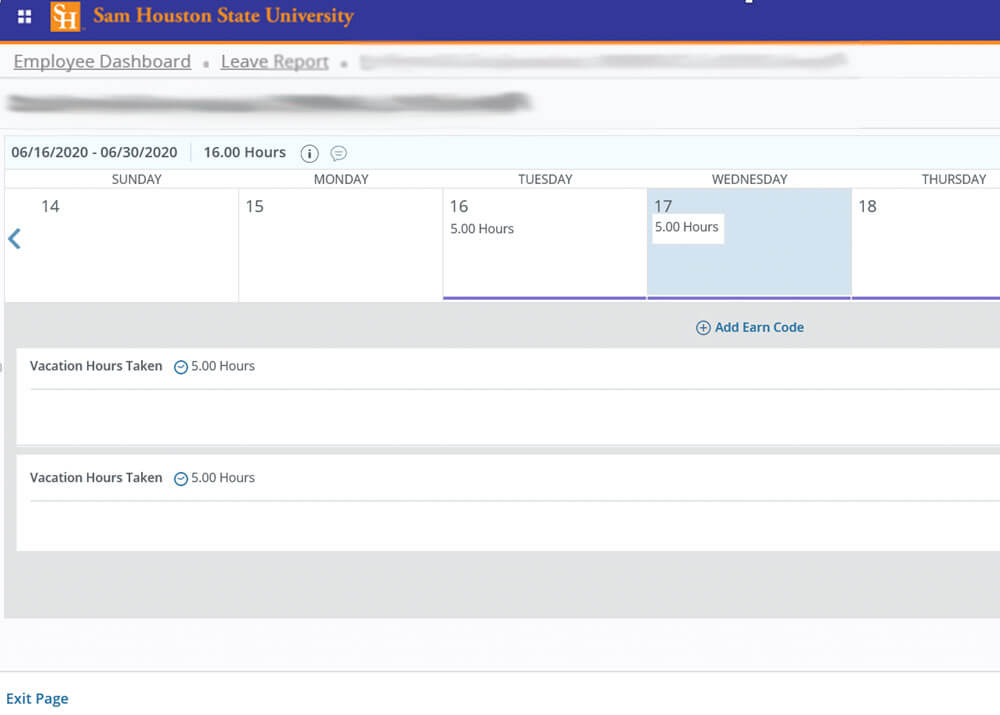
Step 8
Repeat steps 4 ‐ 7 until all leave is entered for the pay period and/or use the copy feature with the steps below.

Step 9
Once all leave is entered, click the Preview button located at the bottom right of the screen.

Step 10
Once reviewed, add any comments necessary, then click Submit.
Copy Leave
Use the steps below to apply the same type and amount of leave you've entered to multiple dates within the pay period.
- Enter leave with steps 4 ‐ 6 above
- Click the copy icon.
- When the Copy Time Entry popup appears, you can
- Apply the leave to select dates clicking on each date in the calendar view.
- Apply the leave to each regular workday until the end of the period by clicking the checkbox next to Copy to the end of pay period.
- Apply the leave to every calendar day until the end of the period by clicking all checkboxes under Select Options.
- Click Save.
Add Multiple Leave Types
Use the steps below to add multiple types for a specific date.
- Enter leave with steps 4 ‐ 6 for the specific date.
- Click Add Earn Code, located above the entered time and below the calendar view<./li>
- Click the dropdown under Earn Code.
- Select an option in the dropdown.
- Enter hours for that earn code under Hours.
- If applicable, repeat the steps above to add additional earnings for that specific date.
- Click Save.
Edit
Use the following steps to correct leave.
- Click the pencil icon to the right of the leave entered.
- Change Hours.
- Then, click Save.
Delete
Use the following steps to delete time
- Click the circle minus icon to the right of the time entered.
- When asked “Are you sure you want to delete the earning record?”, click Yes.
- Click Save.
Approve Time & Leave

Step 1
Navigate to your Banner Employee Profile.
- Login to MySam
- Click Banner Employee Profile on the Employees page.
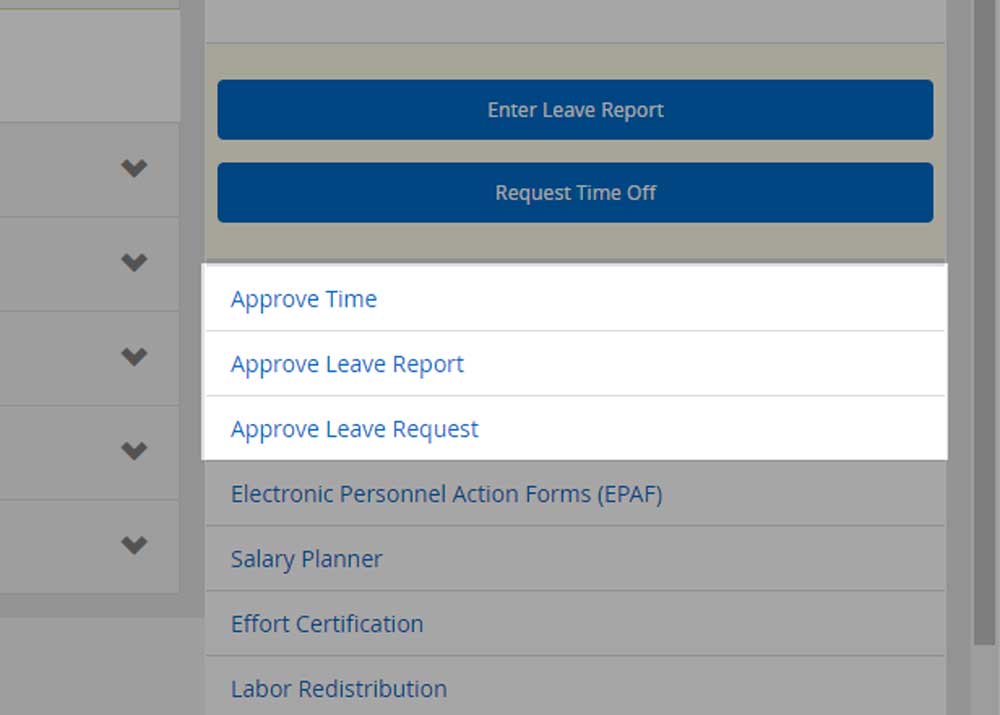
Step 2
Click Approve Time or Approve Leave Report, located under My Activities.
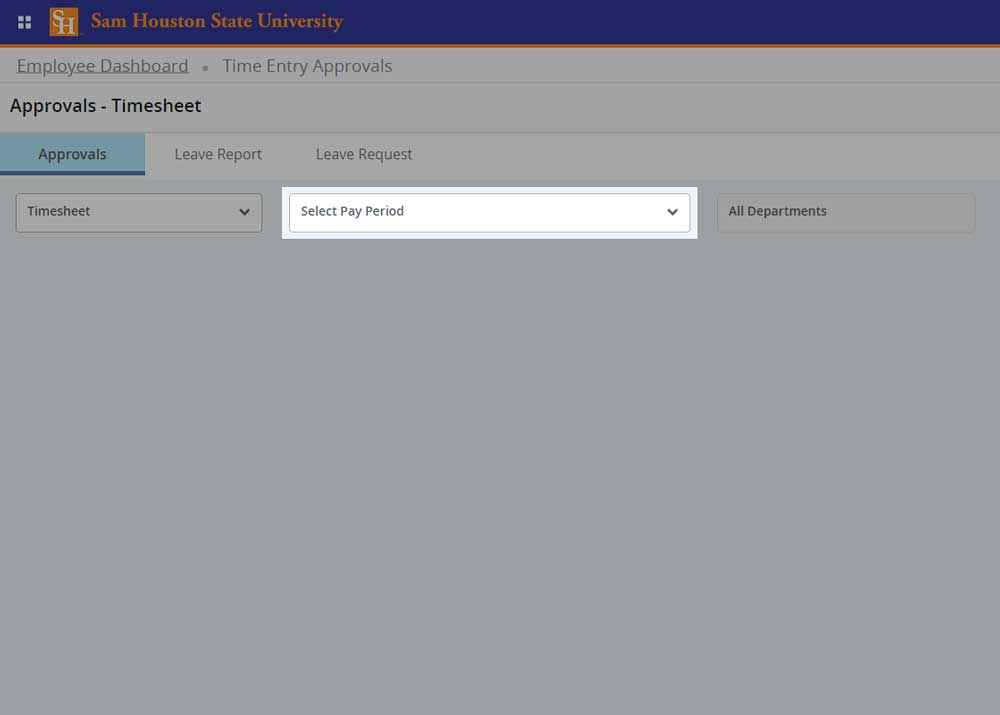
Step 3
Change the pay period by clicking on the dropdown with dates, then clicking the desired pay period.
SA = Salary Employees
HR = Hourly Employees
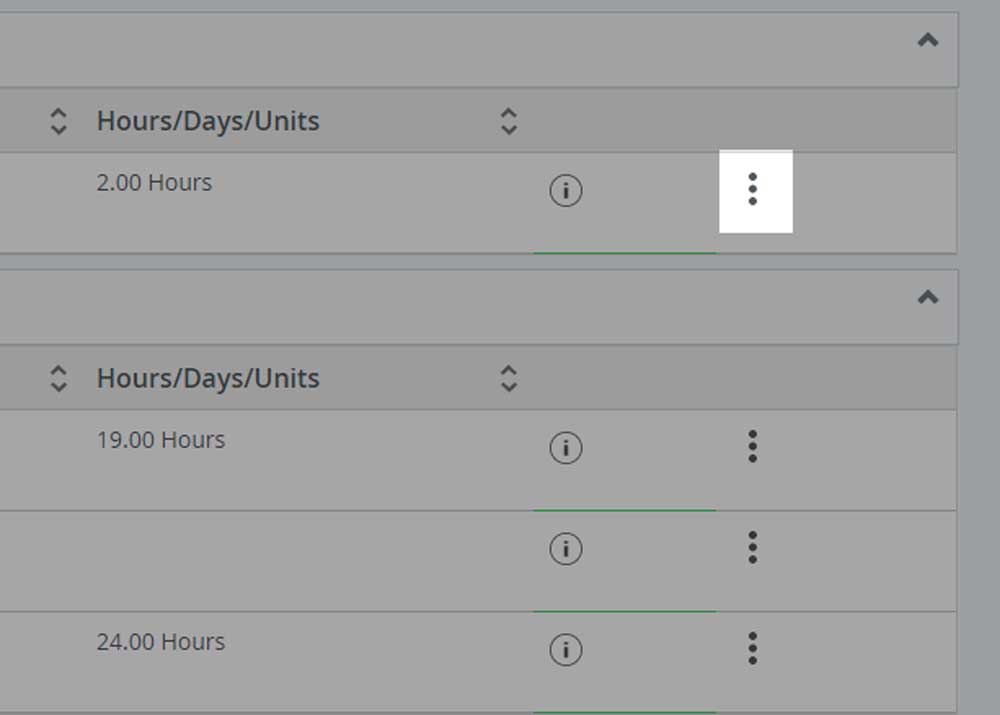
Step 4
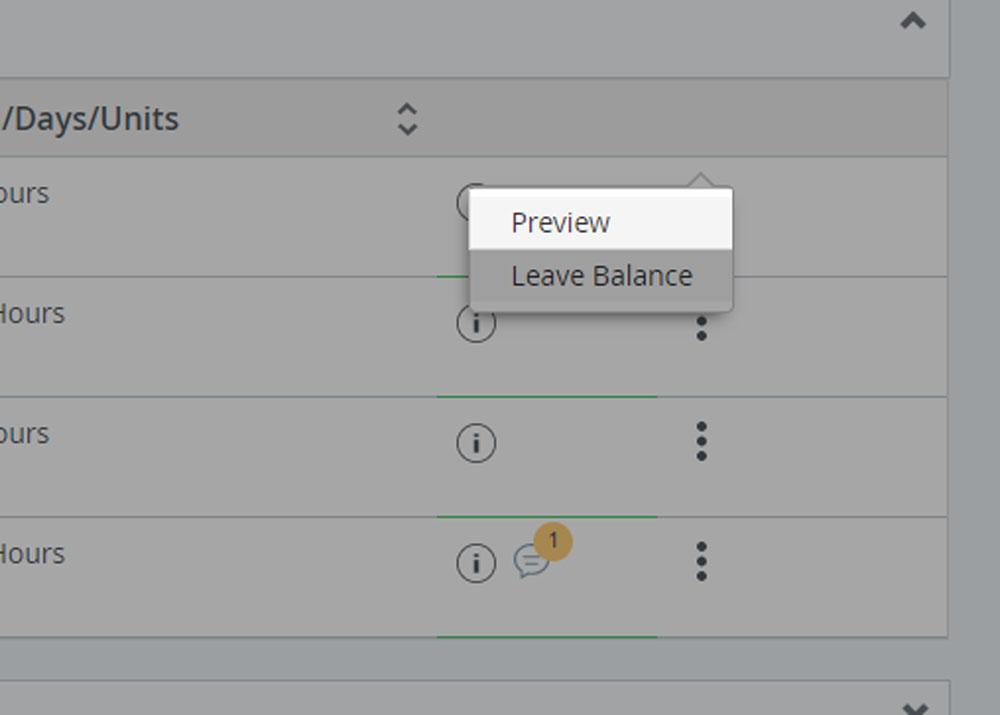
Click on the vertical ellipsis — the 3 stacked dots located to the right of each employee box.
Step 5
Click Preview.
You may also click “Leave Balance" to view your employees leave balances if needed.
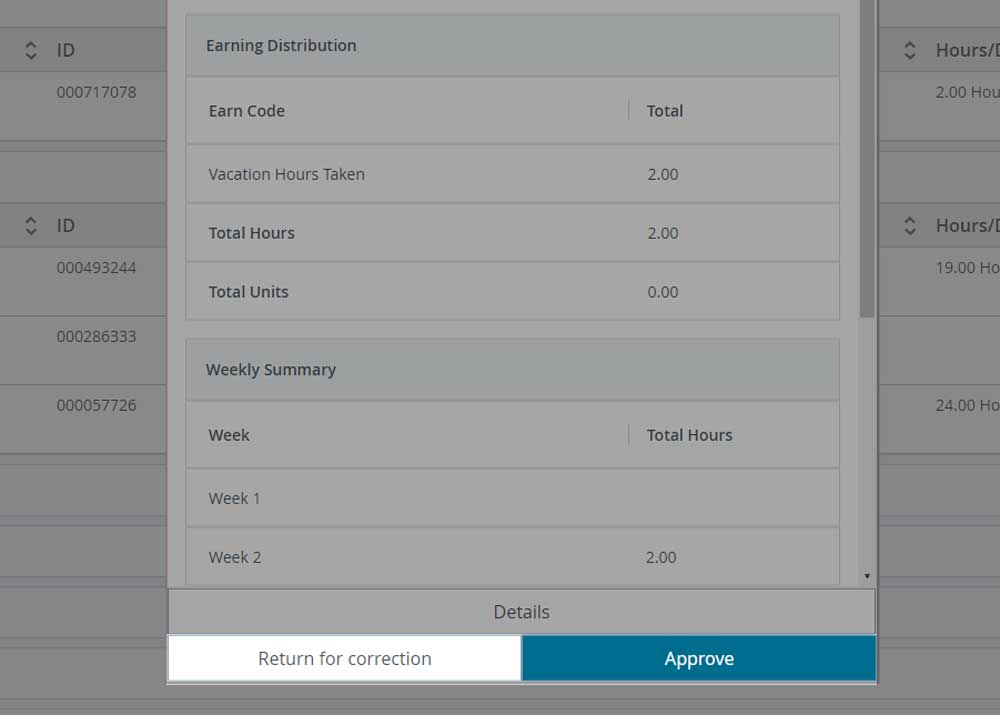
Step 6
Click Approve or enter a comment and click Return for Correction.

Step 7
Repeat steps 4 ‐ 6 until all your employee's timesheets & leave reports are approved.
Switching Approval Types
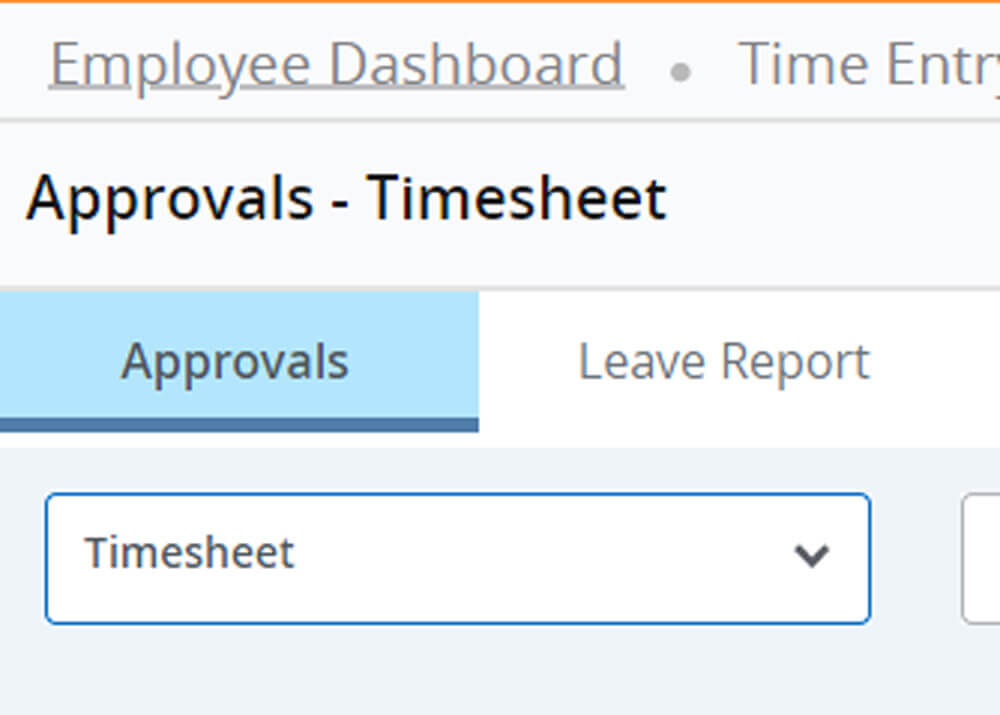
To switch approval views between timesheets, leave reports, and leave requests, use the approval category dropdown located on the Approvals screen to switch views.
Approve Leave Requests
Use these steps to approve requests to take leave. If time is approved or no action is taken, the requested leave will apply to the employee's timesheet or leave report automatically. You or the employee can still update the leave before the submission date for that pay period.
- In the Approvals screen, click on the approval category dropdown. Then, select Leave Request.
- Review the upcoming months in the calendar.
- Click on dates that contain Awaiting under the number.
- Click on the vertical ellipsis — the 3 stacked dots located to the right of each employee box.
- Click Preview.
- Based on your decision, complete one of the following.
- To approve, click Approve.
- If you would like a change before approving, provide a comment and click Return for Correction.
- If you disapprove, click Delete.
Select a Proxy Approver
Use these steps to allow someone else to approve on your behalf.
- In the Approvals screen, click Proxy Super User located on Approvals screen.
- Verify or change Application Selection. The selection of Time & Leave Approvals is also allow approval of Leave Requests.
- Click Add a new proxy button under Existing Proxies.
Approve as a Proxy
Use these steps to approve on someone else's behalf.
- In the Approvals screen, click Proxy Super User located on Approvals screen.
- Verify or change individual you are approving for under Act as a Proxy for.
- Click Navigate to Time & Leave Approvals application.
- Change the pay period by clicking on the dropdown with dates, then clicking the desired pay period.
- Click on the vertical ellipsis — the 3 stacked dots located to the right of each employee box.
- Click Preview.
- Click Approve or enter a comment and click Return for Correction.
- Repeat steps 5 ‐ 7 until all your employee's timesheets & leave reports are approved.
Faculty and staff may request time off through their Banner Employee Profile.
Leave Requests can only be put in for future pay periods. You cannot request leave for the current pay period. You can request time off up to a year in advance. Approved requests or requests without action will be applied to your timesheet/leave report on the pay period it falls within. You or your supervisor can still update the leave applied, if the leave changes from the original request.
Request Time Off

Step 1
Navigate to your Banner Employee Profile.
- Login to MySam
- Click Banner Employee Profile on the Employees page.
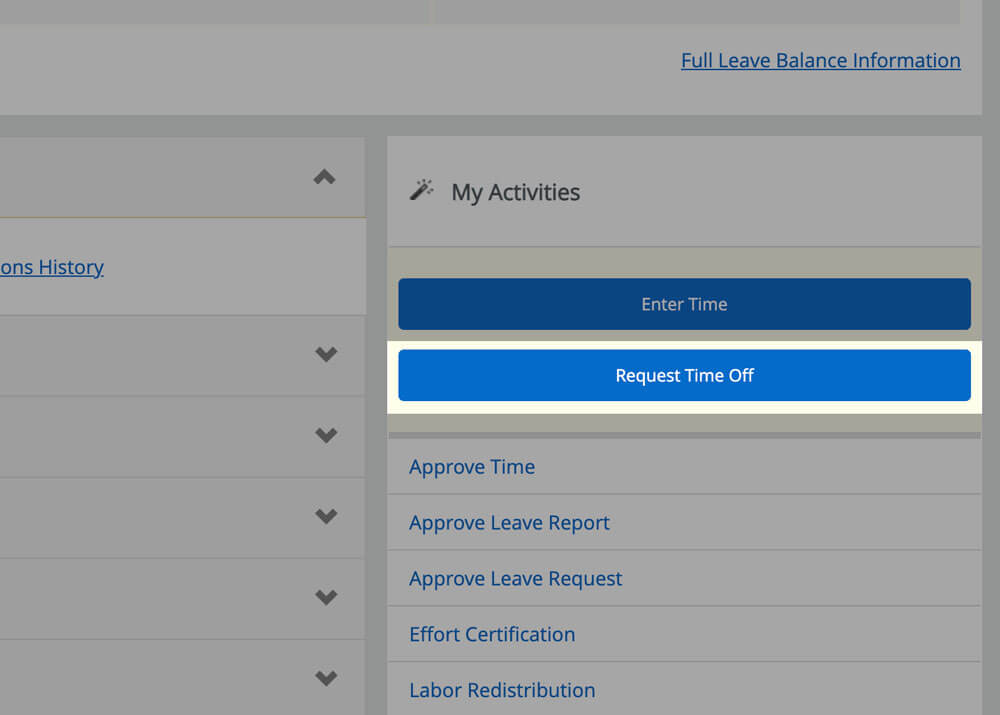
Step 2
Click Request Time Off.
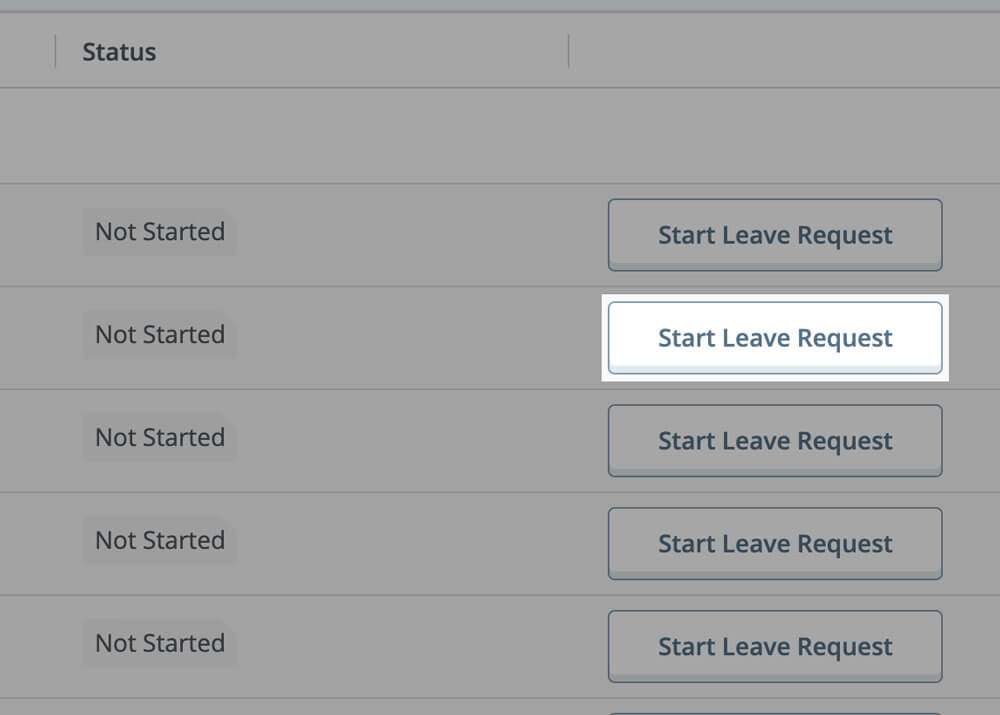
Step 3
Click Start Leave Request to the right of the desired pay period.

Step 4
Click on the date you would like to take time off.


Step 6
Enter hours you wish to take for that Earn Code into the Hours field.

Step 7
Click Save located at the bottom right of the screen.

Step 8
Repeat steps 4 ‐ 7 until all time off requested is entered for the pay period.
Request Multiple Leave Types
Use the steps below to add multiple earn codes for a specific date.
- Click Add Earn Code, located above the entered time and below the calendar view
- Click the dropdown under Earn Code.
- Select an option in the dropdown
- Enter hours for that earn code under Hours.
- Click Save.
Edit
Use the following steps to correct your leave request.
- Click the pencil icon to the right of the time entered
- Change Hours.
- Then, click Save.
Delete
To delete leave request, click the circle minus icon to the right of the time entered. Then, click Save.
Using a Paper Timesheet/Leave Report
If you cannot report online or missed the reporting deadline, use one of the following paper forms to report your time. Once signed, you can email it to payroll_office@shsu.edu.
Earn Codes
Below are the most frequently used earn codes.
| Earn Code | Definition |
|---|---|
| Regular Gross Salary | The number of regular hours worked in a pay period. |
| Vacation Hours Taken | The number of hours taken for the purpose of personal matters. |
| Sick Hours Taken | The number of hours taken for the purpose of sickness or needing to care for a family member. More about personal time off |
| Equivalent Comp Hours Earned | The number of hours earned over 40 when a non-exempt employee is not physically at work for the entire 40-hour work week. These hours will be booked for the employee to use later. Note: Equivalent Comp Hours Earned are lost 12 months after earning. Example: Monday is a holiday (8.00 hours). An employee works 8.00 hours each day on Tuesday, Wednesday, Thursday, Friday, and Saturday. Saturday’s 8.00 hours would be reported in Equivalent Comp Hours Earned. |
| Equivalent Comp Hours Paid | The number of hours earned over 40 when a non-exempt employee is not physically at work for the entire 40-hour work week. These hours are PAID to the employee as additional compensation to their paychecks. Check with your supervisor on if time can be paid. |
| Overtime Comp Hours Earned | The number of hours earned over 40 when a non-exempt employee is physically at work for the entire 40-hour work week. These hours will be booked at time and a half for the employee to use later. Note: Overtime Comp Hours Earned has a max of 240.00 hours and is paid to the employee upon separation. Example: An employee works 8.00 hours each day on Monday, Tuesday, Wednesday, Thursday, Friday, and Saturday. Saturday’s 8.00 hours would be reported in Overtime Comp Hours Earned. |
| Overtime Comp Hours Paid | The number of hours earned over 40 when a non-exempt employee is physically at work for the entire 40-hour work week. These hours are PAID to the employee at time and a half as additional compensation to their paychecks. Check with your supervisor on if time can be paid. |
For more earn codes, refer to Human Resources Employee Leaves Policy, HR-04.
